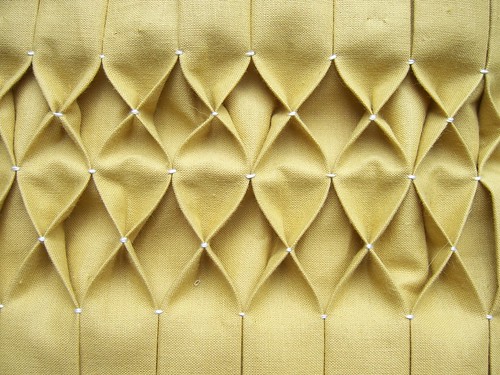
I think you could also call it Honeycomb Pleating.
I made this tutorial, because there really weren’t too many others out there, and I really like my method. The thought of pleating an entire piece of cloth back-and-forth and back-and-forth makes my hands feel all full and frustrated. My way is not that way. I would like to introduce you to the recycled Cheerios box method, in which a cardboard strip does most of the thinking work and the whole thing is laid flat rather than folded up in your hands.
Materials:
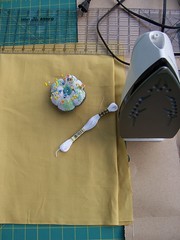
- fabric: your desired height x 3 times your desired width. I’m making a fourteen inch pillow, and I decided to play it safe by cutting a 18 x 54 in. piece of fabric. Your fabric should be cotton or something else that can stand up to a good bit on ironing. No melty fabrics.
- embroidery floss
- quilting ruler or yardstick
- disappearing ink marking pen or light pencil
- thin cardboard, like from a cereal box
- iron and ironing board
- spray starch
- straight pins
Step 1: cut your cardboard strip

Cut your cardboard into a long, thin strip. I made mine 3/4 inches wide by 20 inches long. Ideally you want your strip to be longer than your fabric, but this is not a necessity. If you want wider pleats, make your strip wider than 3/4 inches.
Step 2: the first press
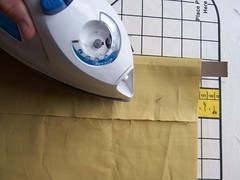
Use light starch for all pressing.
Lay your fabric on your ironing board so that the short edge is parallel with the sides of the board the long edge falls down in front of you. Place the cardboard strip across your fabric, about 3 inches from the short edge. Fold the 3 inches over the cardboard strip. Press, using the strip as a straight edge for a nice, crisp pleat.
Step 3: the second press
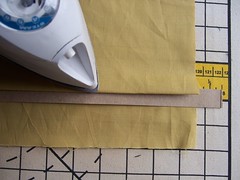
Remove cardboard and flip your work over. Now the extra fabric falls over the far side of the ironing board. Slide the edge of the cardboard onto the fold line made by the first press. Fold the long side of your fabric halfway onto the cardboard strip and then back on itself. Press.
Step 4: the pleat press

Remove the cardboard and flip your work over (again!). Tuck the cardboard into the little fold you just made. Your cardboard should be halfway covered by the fabric. Fold fabric up around the other side and back on itself. Press. Turn your fabric over to see that you have made a full pleat! Cool.
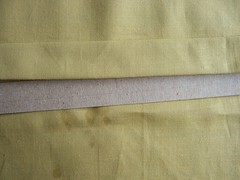
Keep making pleats until you are 3 inches from the far edge or pleating reaches your desired width. Remember to use starch—it’s your friend. Once you have a few pleats, you’ll probably want to put some straight pins in your work to keep it from unfolding as you flip it over and over.

Step 5: mark it

Lay your ruler across your work, about 2 inches from the top, perpendicular to the pleats. Using the disappearing ink marking pen or the pencil, make a little mark on each place where two pleats meet. Then mark the next row. The length between rows should be double the width of your pleat. My pleats were 3/4 in. so I made 1.5 inches between rows. If you’re using a pencil, make really light, tiny marks so they don’t show later. If you’re using a disappearing ink pen, just make a couple rows at a time so they don’t disappear before you can sew them!
Step 6: sew flat pleats

Thread a needle with two strands of embroidery floss. On the top row, on the first mark of the row, sew up through all layers on one pleat and down through all layers of the touching side of the adjacent pleat. Repeat stitch in the same place in order to tack the pleat in place. Continue across the row, then for all rows until the smocked portion of the work is the desired size (in my case, about 13 inches).
Step 7: sew pinch pleats

Start at one corner of your smocking. From the back, wiggle your threaded needle up through one of the flat folds of your pleat, centering your needle between two stitched rows. Pinch the pleat so that the sides come up and make an X. Make a tiny, stitch right in the center of the X. Stitch through it again to tack it down. Wiggle your needle down into the flat fold opposite where it came up. Repeat, pinching all pleats in your work.

Taa-daa! You’ve done honeycomb smocking.


